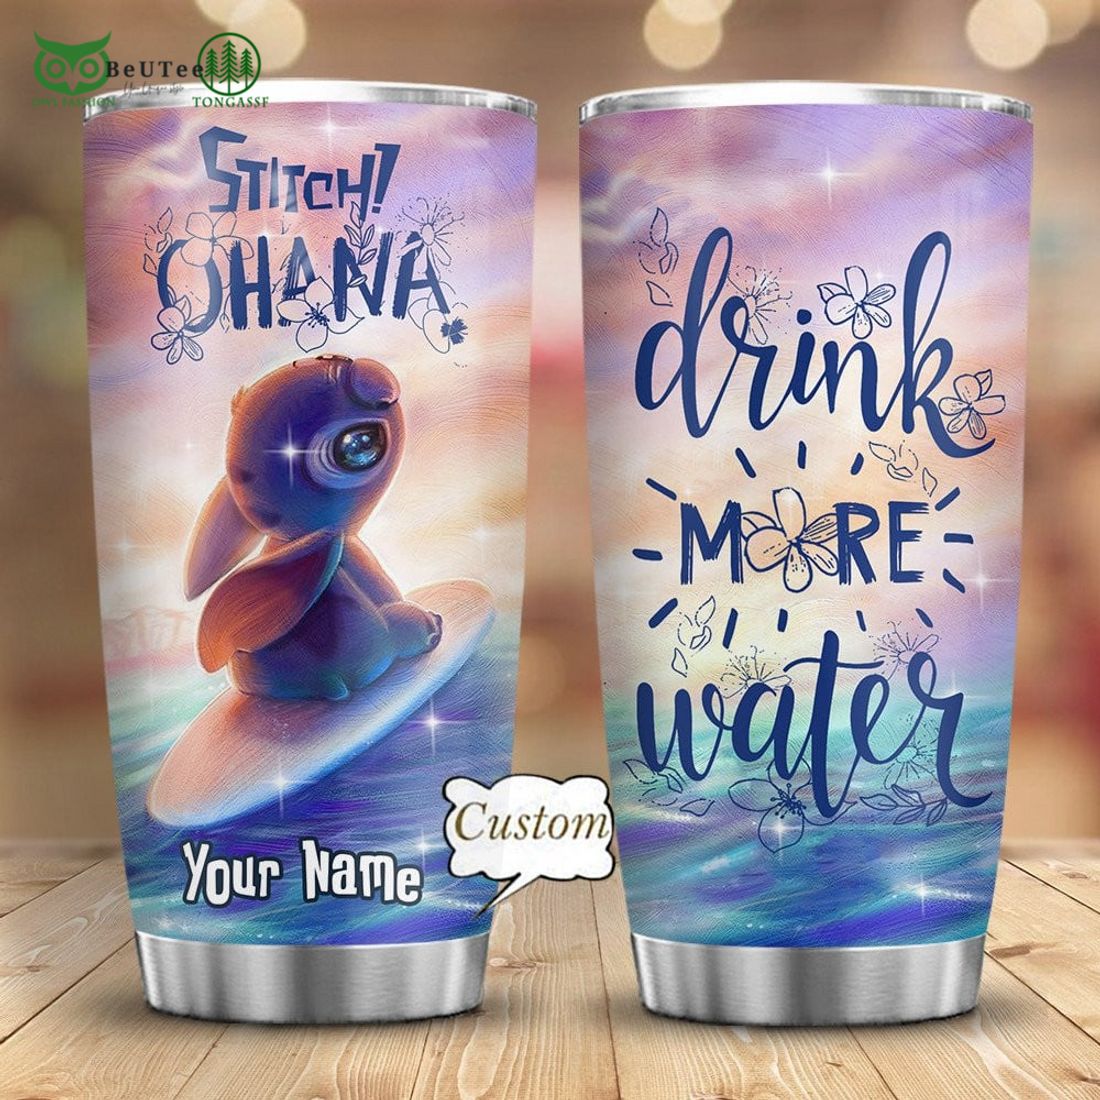
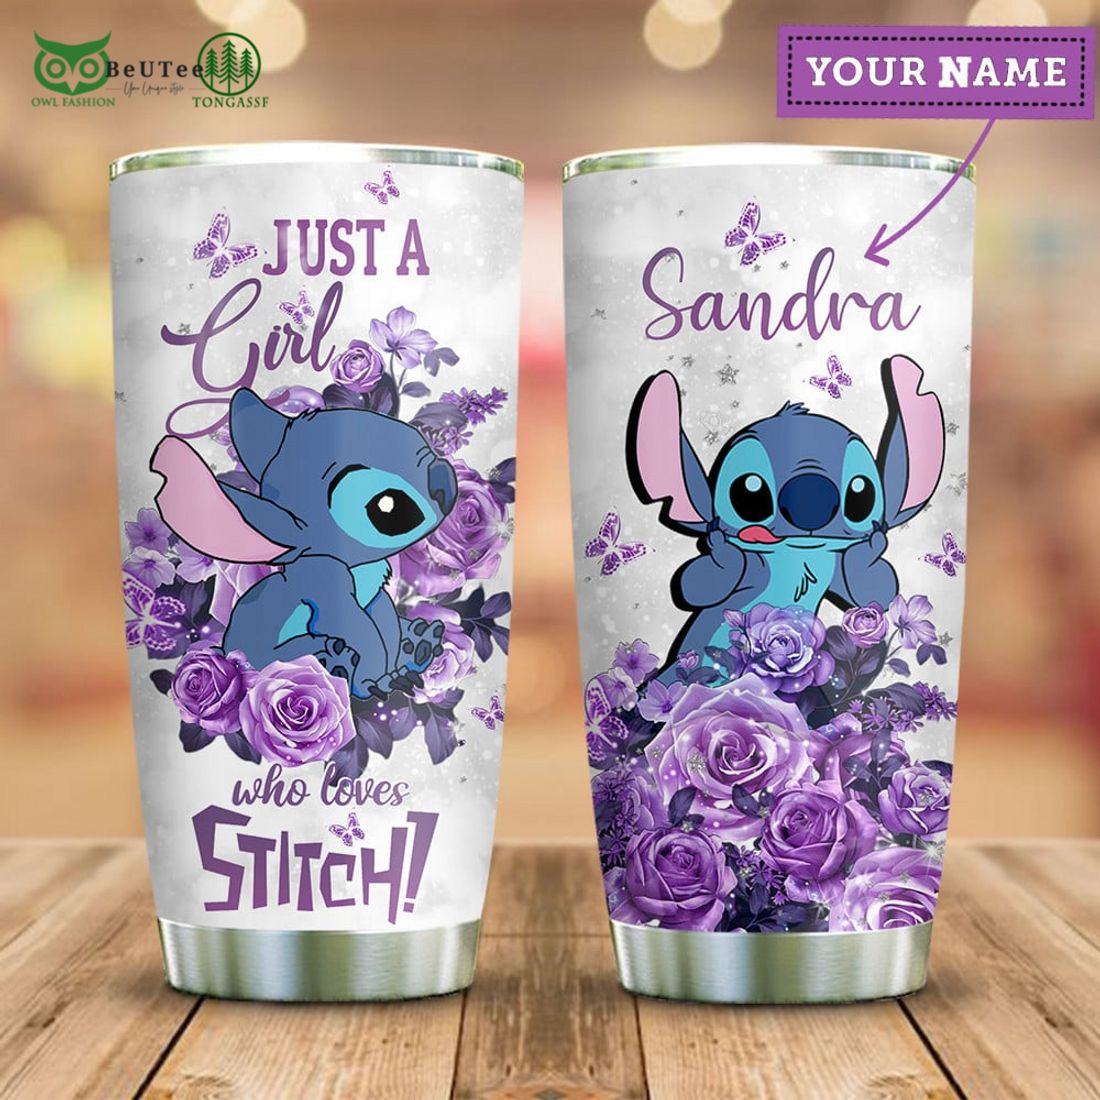
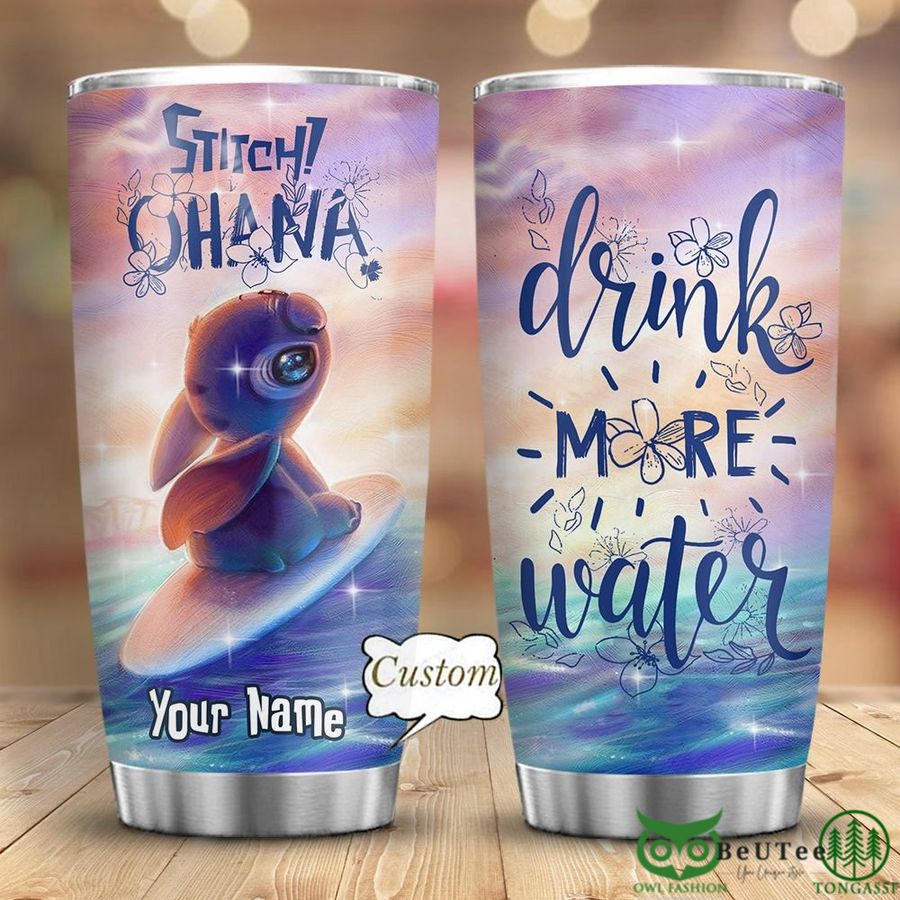
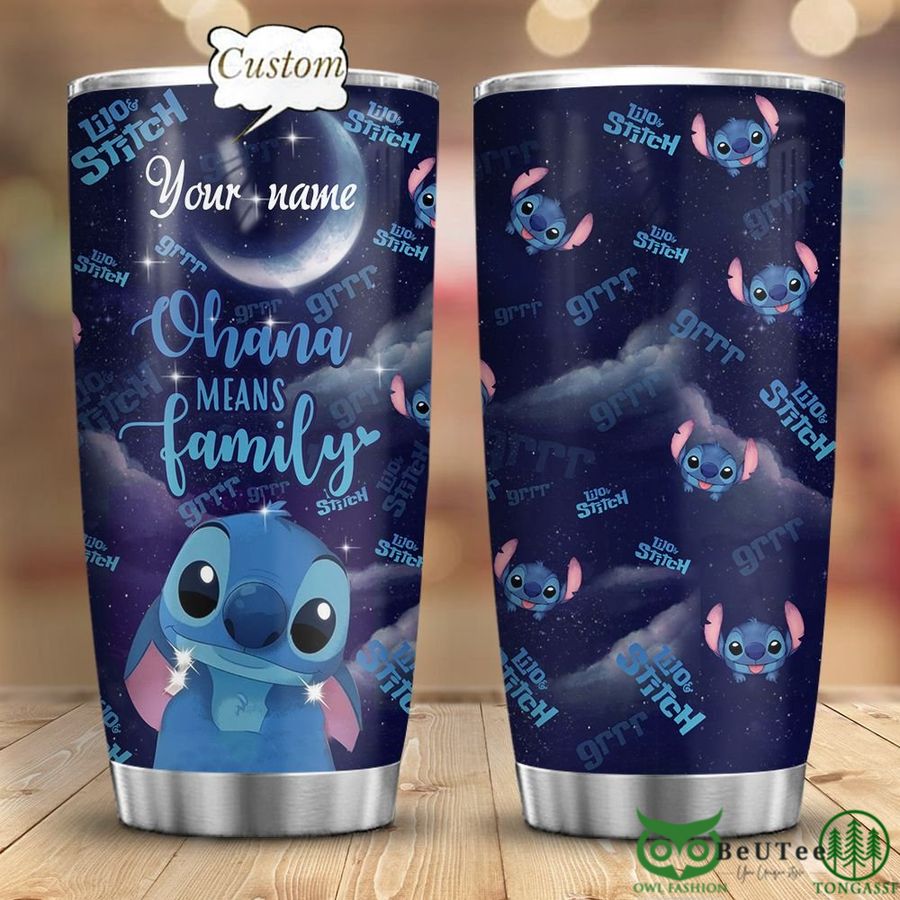
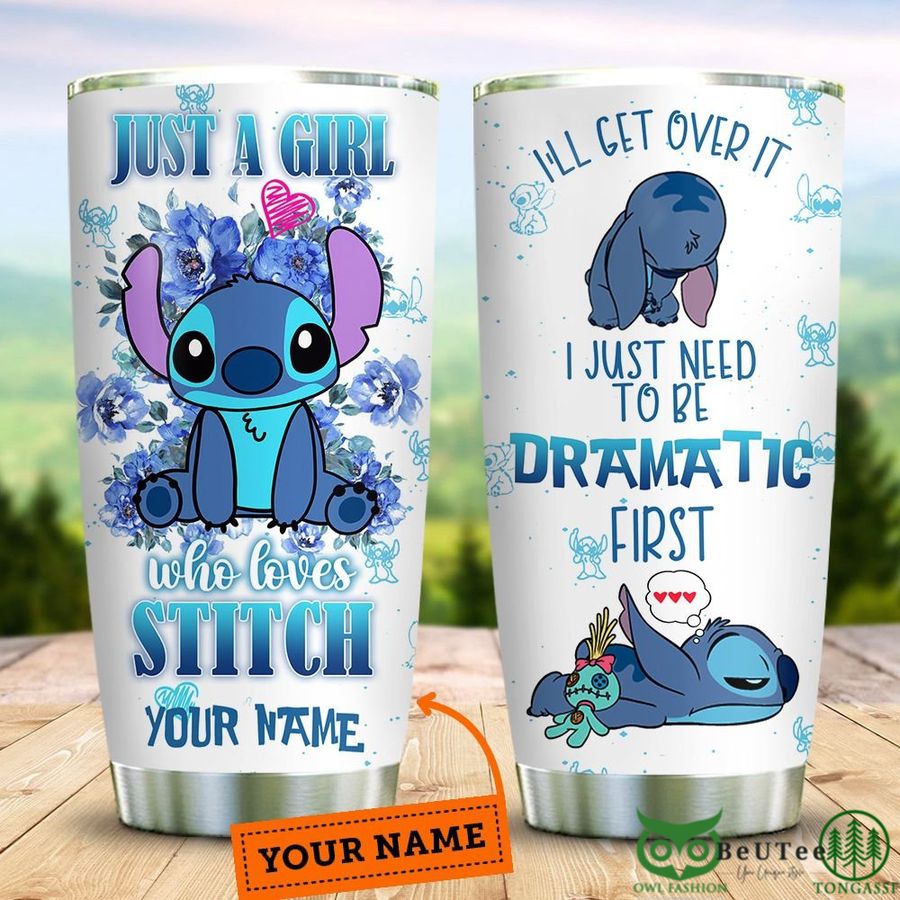
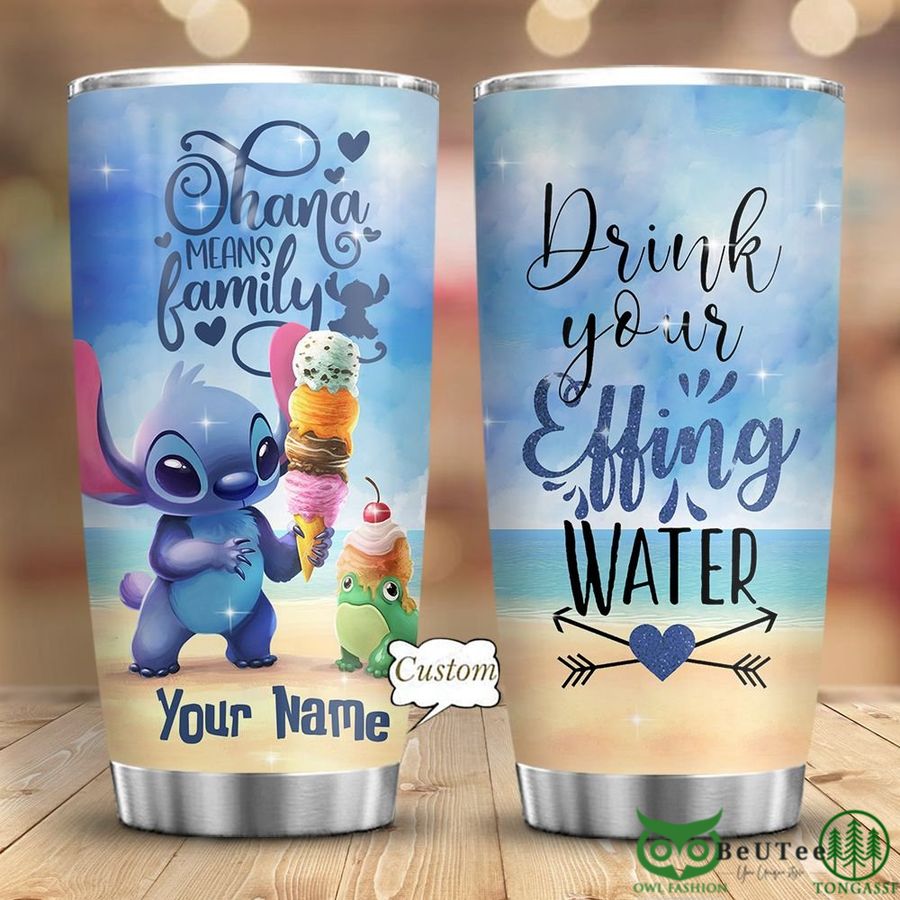
Stitch Ohana Drink More Water PERSONALIZED TUMBLER
$35.99 Original price was: $35.99.$25.99Current price is: $25.99.
-
5% OFF 2 items get 5% OFF on cart total Buy 2
-
10% OFF 3 items get 10% OFF on cart total Buy 3
-
15% OFF 4 items get 15% OFF on cart total Buy 4
-
20% OFF 5 items get 20% OFF on cart total Buy 5
Frequently Bought Together:
Product Details of Stitch Ohana Drink More Water PERSONALIZED TUMBLER:
- Stainless Steel Tumbler Double Wall Vacuum Flask Insulated Beer Cup Drinking Thermoses Coffee
- Clear, suction lid
- Keeps Drinks Cold for 24 Hours, Hot for 12 Hours
- SHAPE: cylindrical
- ADVANCED 3D PRINT TECHNOLOGY: Using advanced 3D digital printing technology, the image is vivid, the color is bright and strong
- Production time: 3 – 5 business days
Contents
Stitch Ohana Drink More Water PERSONALIZED TUMBLER
Introduction
We all know that water is essential for our wellbeing, and we should be drinking more of it every day. But what about during the busy workweek? That’s where stitch ohana come in. These custom drink containers are the perfect way to help you stay hydrated on-the-go. Not only are they stylish, but each one is personalized with your name and logo. Plus, they come in a variety of colors and styles, so you can find the perfect one for your business. If you want to add a splash of personality to your water intake, stitch ohana is the way to go!
What You Will Need
If you’re looking for a unique, personalized drink vessel to show your support for your Stitch Ohana, look no further than our customizable tumblers!
You will need:
– a TUMBLER (preferably glass)
– some creative supplies like markers or stickers
– an open mind and willingness to be creative!
– your Stitch Ohana spirituoso of choice!

How to Make Your Stitch Ohana Drink More Water Tumbler
If you’re looking for a fun and unique way to share water with your friends, then a stitch ohana drink more water personalized tumbler is the perfect option! These glasses feature colorful designs that you create yourself, making them one-of-a-kind and perfect for sharing with your closest friends.
To make your own drink tumbler, start by downloading the free templates provided on stitchohana.com. Once you have downloaded the template(s), print it out and cut out the pieces. You will need six pieces: two each of the top and bottom sections, as well as two side sections.
Once you have cut out all of the pieces, it’s time to begin creating your design! The easiest way to do this is to use a computer or tablet to create a digital image of your desired design. Once you have created your digital image, print it out onto paper and use a pencil to trace around the outside of each piece. Be sure to leave plenty of room around each border so that you can hand-sew them together later on (see instructions below).
Once all of the pieces have been traced, it’s time to start sewing them together! Begin by attaching the top section to one end of the bottom section using a Sewing Kit (sold separately). Then attach the bottom section to the other end of the bottom section using a Sewing Kit (sold separately). Finally, attach one side section to each end of the
Connect us at:
- Our Category: https://beuteeshop.com/product-category/home-and-living/drinkware/Stainless-steel-Tumbler/
- Facebook: https://www.facebook.com/beuteeshop
- Instagram: https://www.instagram.com/beuteeshop1/
- Twitter: https://twitter.com/BeuteeShop
- Pinterest: https://www.pinterest.com/beuteeshop
From: Beuteeshop team
